How to Set Up NordVPN: A Full Guide
HI there, in this article we are going to know that How to Set Up NordVPN: A Full Guide, Popular VPN service NordVPN is renowned for its robust security features, quick speeds, and user-friendliness. Using a computer, smartphone, or other device, setting up NordVPN is a simple process. This thorough guide will assist you in getting started with NordVPN.
Step 1: Sign Up for NordVPN
- Visit the NordVPN Website:
- Go to NordVPN’s website.
- Choose a Subscription Plan:
- Choose a plan based on what you require. A variety of alternatives are available with NordVPN, such as monthly, annual, and multi-year plans.
- Create an Account:
- After creating a password, enter your email address.
- Payment:
- Use the payment method of your choice to finish the payment procedure.
Step 2: Download and Install the NordVPN App
For Windows and macOS
- Download the App:
- Download the NordVPN app from the website or the supplied link as soon as you’ve made a subscription purchase.
- Install the App:
- Open the downloaded file and follow the installation instructions.
- Login:
- Launch the app and log in using your NordVPN account credentials.
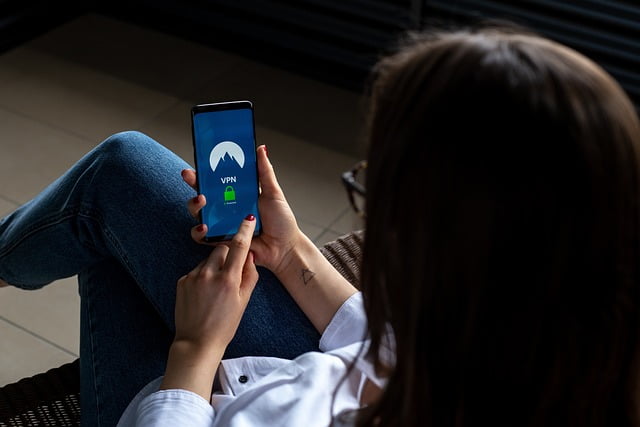
For iOS and Android
- Open the App Store or Google Play Store:
- Search for “NordVPN”.
- Download the App:
- Install the NordVPN app on your device.
- Login:
- Open the app and log in with your NordVPN account details.
Step 3: Configure NordVPN
- Open the NordVPN App:
- Launch the app on your device.
- Settings:
- To alter your options, go to the settings menu. Features such as auto-connect, obfuscated servers (for use in countries with significant internet censorship), and CyberSec (ad and malware blocker) can be enabled.
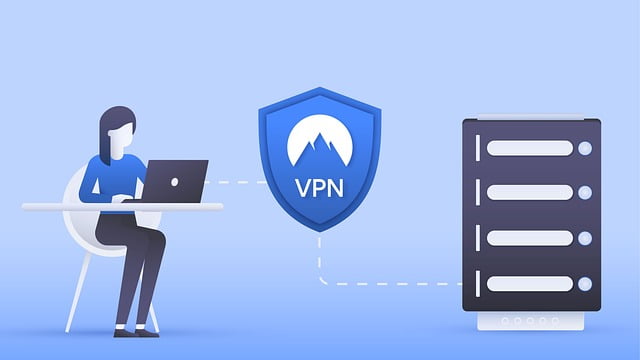
Step 4: Connect to a NordVPN Server
- Quick Connect:
- Click the “Quick Connect” button to establish a fast and simple connection. The quickest server will be immediately connected to you by NordVPN.
- Choose a Server Manually:
- Look through the list of nations and servers that are accessible to choose a certain server. You can choose servers according to specialization, geography, or purpose (such as P2P or Double VPN).
Step 5: Verify Your Connection
- Check Your IP Address:
- Visit a site like WhatIsMyIP.com to verify that your IP address has changed, indicating that you are connected to the VPN.
- Run a Speed Test:
- To determine how the VPN is affecting your internet connection, use an online speed test. This makes sure you’re linked to the best server possible.
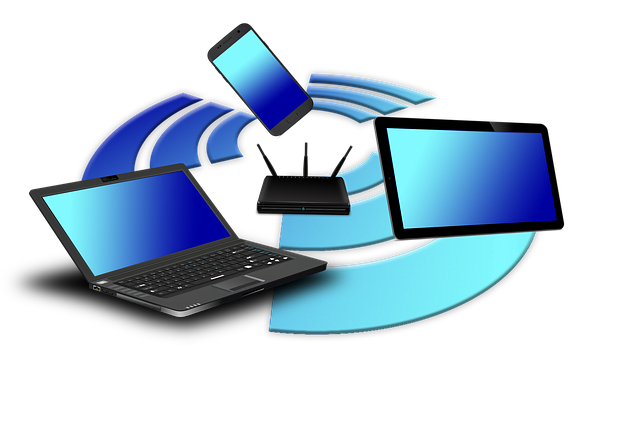
Step 6: Use NordVPN on Other Devices
For Routers
- Compatibility Check:
- Make sure NordVPN is compatible with your router. For a list of compatible routers, see the NordVPN website.
- Manual Setup:
- Refer to the comprehensive setup instructions tailored to your router on the NordVPN website. Typically, this entails gaining access to the admin panel of your router and manually setting up the VPN.
For Smart TVs and Streaming Devices
- Direct App Installation:
- Install the NordVPN app straight from the app store on your Smart TV or streaming device if it allows VPN apps.
- Router Setup:
- As an alternative, configure NordVPN on your router to safeguard any network-connected devices, including streaming gadgets and Smart TVs.
Troubleshooting Tips
- Connection Issues:
- Try rebooting your device, reinstalling the NordVPN software, or changing to a new server if you’re having trouble connecting.
- Slow Speeds:
- Connect to a server that is closer to your actual location if the speeds are slow, or try many servers to determine which is the fastest.
- Customer Support:
- Use NordVPN’s 24/7 customer support via live chat or email for any persistent issues.
Conclusion
It’s easy to set up NordVPN, and it may greatly improve your online security and privacy. These instructions make it simple to set up and install NordVPN on a range of devices, guaranteeing a private and secure online experience. NordVPN offers a strong solution for safeguarding private information, unblocking geo-restricted content, and maintaining a secure connection when using public Wi-Fi.
Loading newsletter form...